

A Paradigm Shift Example in Photography
How to Master Low-Key Photography with an iPhone 15 Pro

This How-to guide is inspired by my friend Dave Lane, an artist who creates incredible drawings using photographs as his source material. Dave is keen on creating his own low-key images and wondered what DSLR camera he should invest in. Having worked in a camera store, I've sold plenty of high-end equipment. However, if you ask any of my clients, they'll tell you that I sold them exactly what they needed to achieve their photography goals—nothing more, nothing less. In Dave's case, he simply wants to make his own low-key portraits. Believe it or not, the new iPhone 15 Pro or Max is an excellent choice for this; it outperforms most DSLRs on the market for general use. Although you can use any mobile device with this guide, I'll be working with the iPhone 15 Pro Max.

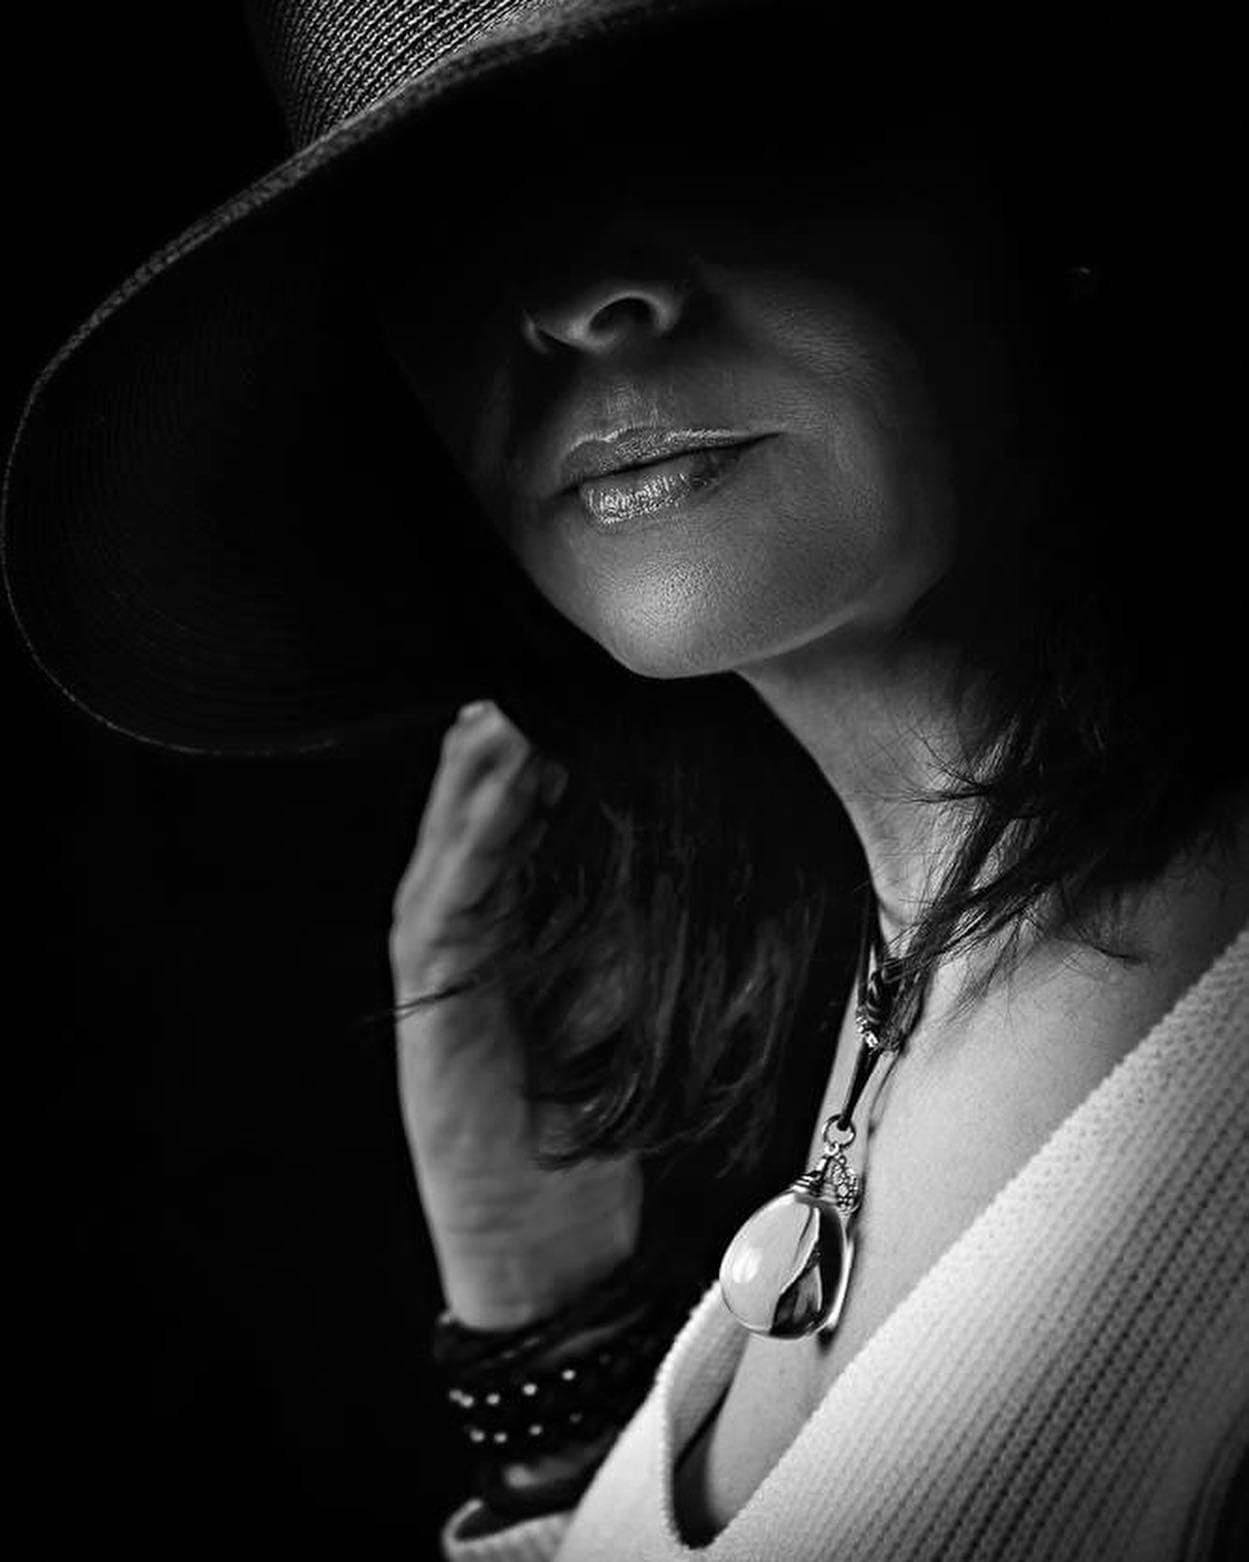
Low-key photography is all about creating dramatic, mood-filled images by emphasizing shadows and dark tones. Thanks to the advanced camera features and processing capabilities of the iPhone 15 Pro, achieving this captivating effect is now easier than ever. Let's dive in.
Equipment Needed
iPhone 15 Pro or Max with Portrait mode or Night mode
Single light source (e.g., flashlight, lamp)
Tripod or stable surface (optional)
Dark background or setting
Step 1: Choose a Dark Environment
Select an environment where ambient light can be controlled. Turn off unnecessary lights and close curtains to achieve a darker setting.
Step 2: Set Up the Camera App
Open your iPhone 15 Pro's native camera app and switch to 'Portrait' or 'Night' mode for better results. Make sure the flash setting is turned off.
Step 3: Manual Focus and Exposure
Tap on your subject to focus. Manually adjust exposure by sliding your finger up or down on the screen.
Step 4: Position Your Subject
Place your subject against a dark background to ensure that the low-key effect is maximized.
Step 5: Place the Light Source
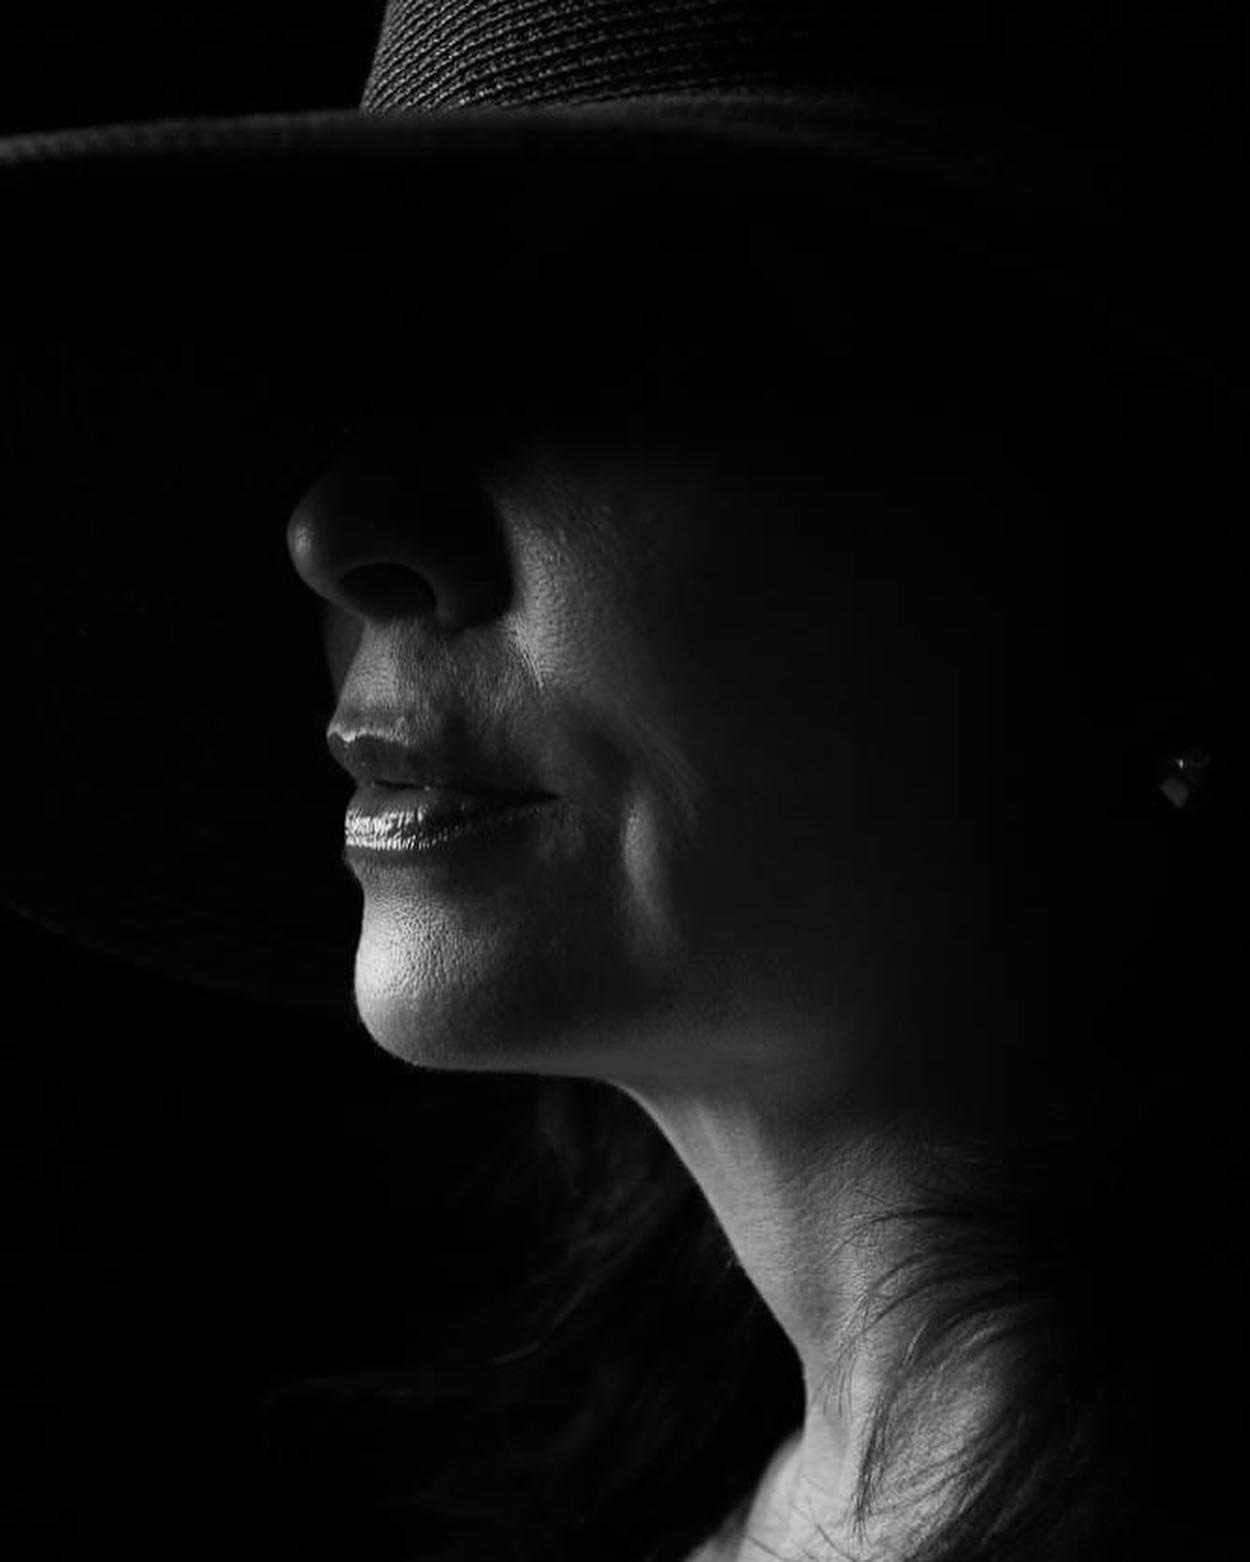
Place your single light source at a 45-degree angle to your subject. This is essential for creating the dramatic, moody lighting characteristic of low-key photography.
Step 6: Stabilize Your iPhone
Though optional, using a tripod or a stable surface can help prevent camera shake, which is crucial when shooting in low-light conditions. Utilize the camera timer for a hands-free shot.
Step 7: Capture and Review
Take several shots, adjusting focus and light placement as needed. After capturing, review your photos to pick the best one.
Step 8: Post-Processing
Use the editing features of your iPhone or third-party apps like Adobe Lightroom Mobile to fine-tune your images. Enhance contrast, adjust brightness, and manipulate shadows to perfect the low-key effect.
Conclusion
Low-key photography is not just for professionals; your iPhone 15 Pro can be a powerful tool in creating these captivating images. All it takes is a little setup, some experimentation, and a keen eye for dramatic lighting and shadows.